Throughout the semester, I have really learned a lot more about how photography works. Since the camera that I used for this passion project was new to me at first, it was probably my biggest goal to become more familiar with it. I achieved that goal to an extent, because I did learn how to use/change a lot of the different settings that help get the image you want, but there is still so much that I need to fiddle around with and become familiar with.
I did a lot of research on how to execute different techniques, and I am really happy with the way my pictures turned out. Another goal of mine was just to improve my overall photography skills. In the beginning of the semester, the biggest thing for me was just getting outside and start snapping pictures of whatever, just to get the feel of things, but by the end, I could actually plan out the way I wanted my end result to look like. For example, I would place the subject already in the right place, I would adjust the aperture/shutter speed, I would take in to account the foreground of my image, and just already know what my picture would be. This was a big improvement for me, because I felt myself just naturally knowing these things and applying them to the image I wanted before actually physically taking the picture. I think I really achieved my goal of improving my photography skills.
One of the biggest obstacles for me was probably making time to go out and take pictures. It was easy for me in the sense that I live on a farm, and whenever I had some spare time I could just walk out my front door, but I never really got off the farm. I would have really liked to go to downtown Winnipeg or to the Forks, because it'd be different than taking pictures on the farm, but I just could never find time. Another obstacle I faced was, believe it or not, TICKS! I guess just being out on the farm, walking around in the tall grass and in the fields, I got a lot of ticks. As gross as it sounds, I probably got more ticks in a 2 day time span then I have in the past 4 years of my life. So that was something that was really disgusting, and I was not to excited about it.
Some Through-Lines that relate to my project are creation-enjoying and beauty-creating. Creation-enjoying because just getting outside and having God's creation entirely surrounding you is just so peaceful and so enjoyable. Walking around nature is a great way to connect with God, and there were definitely times where I could feel God's presence there with me. I found that photographing nature is a great way to appreciate all that God has given us. I also chose beauty-creating because I am taking the talents and gifts God has given me to take pictures and create something beautiful through Him. God is the #1 creator, but by taking pictures I can reflect God.
I am really glad that I chose photography for my passion project. Photography has always been something I have been really interested in, so I am really happy that I could do it for school credit. I am really happy with everything I learnt, and I am hoping to continue learning and continue photography in the future.
Thursday, June 12, 2014
Tuesday, June 10, 2014
New York City
Since I live on a farm, most of my pictures are farm related or at least some what country themed. One of the obstacles I faced during this project was not putting aside enough time to actually go somewhere else, say downtown Winnipeg, to try and take pictures of something other then cows and open fields. This is why going to New York City with my school was a very fun and new experience for me.
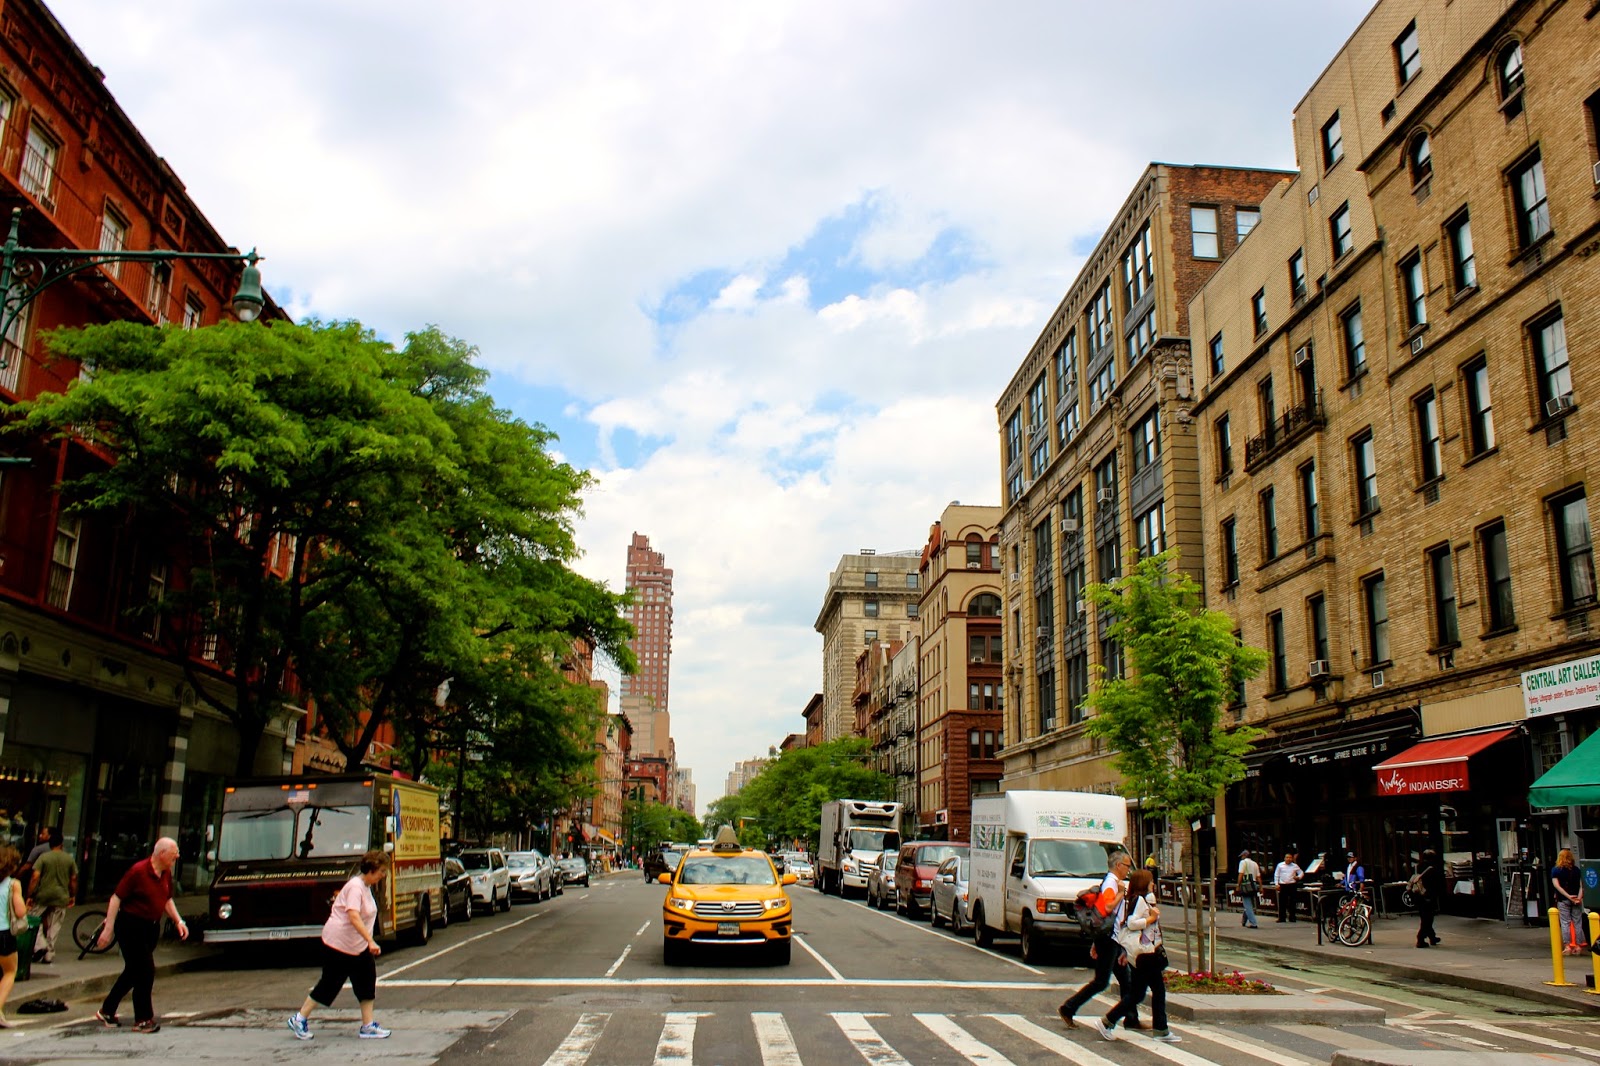 Taking pictures in NYC is so much different then in the country. I wasn't used to all the tall buildings, all the traffic, and the amount of people. So it was definitely a challenge for me, but I think I ended up taking some well executed pictures.
 Everywhere I walked was such a good picture opportunity. I kept my camera hung around my neck 99% of the entire time I was there. There was so much detail in the buildings, so much colour on the streets, and so many unique people, it was just impossible to capture everything I saw.
Taking pictures in NYC is so much different then in the country. I wasn't used to all the tall buildings, all the traffic, and the amount of people. So it was definitely a challenge for me, but I think I ended up taking some well executed pictures. Everywhere I walked was such a good picture opportunity. I kept my camera hung around my neck 99% of the entire time I was there. There was so much detail in the buildings, so much colour on the streets, and so many unique people, it was just impossible to capture everything I saw.
Since I didn't have much experience taking pictures of tall buildings, that was definitely a huge challenge for me. It's just such an awkward shot shooting from way down below, because all you see in the picture is this towering structure above you. Taking pictures of the skyline was something I enjoyed a lot better, and it still showcased the height and detail of NYC, rather than taking pictures from down below.
Photographing Animals
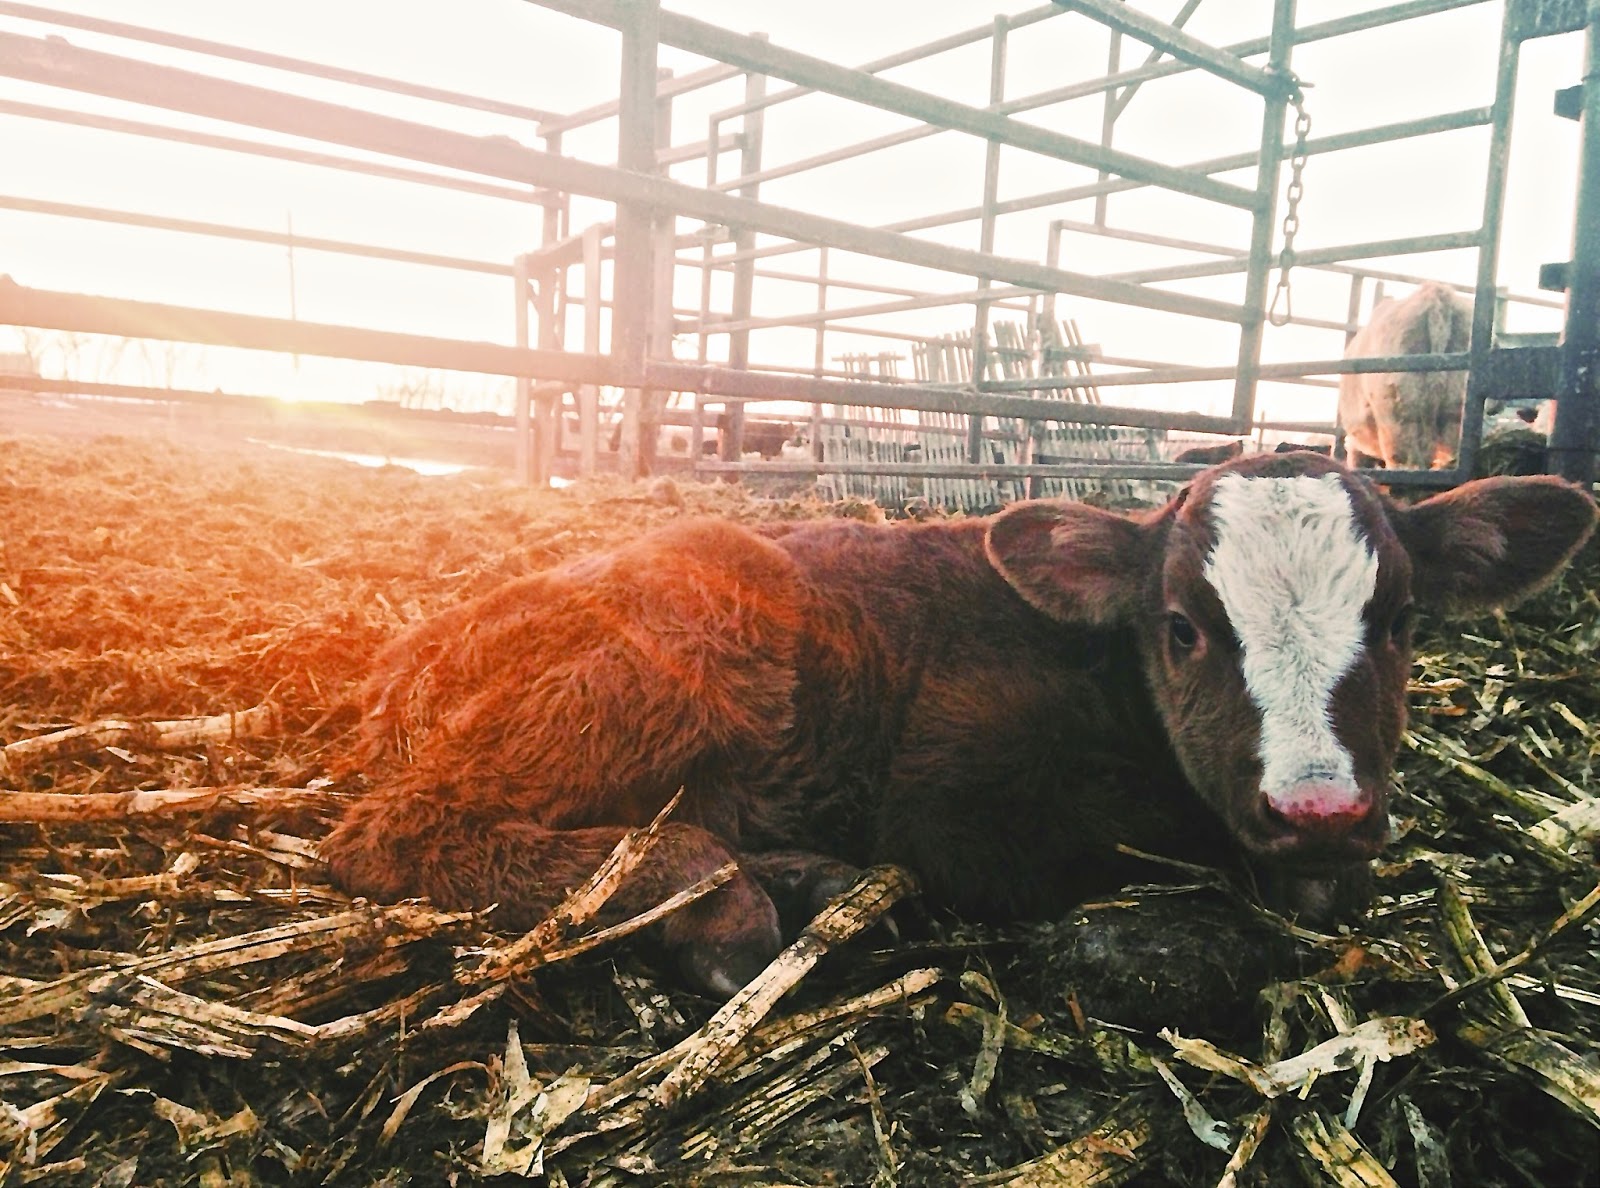
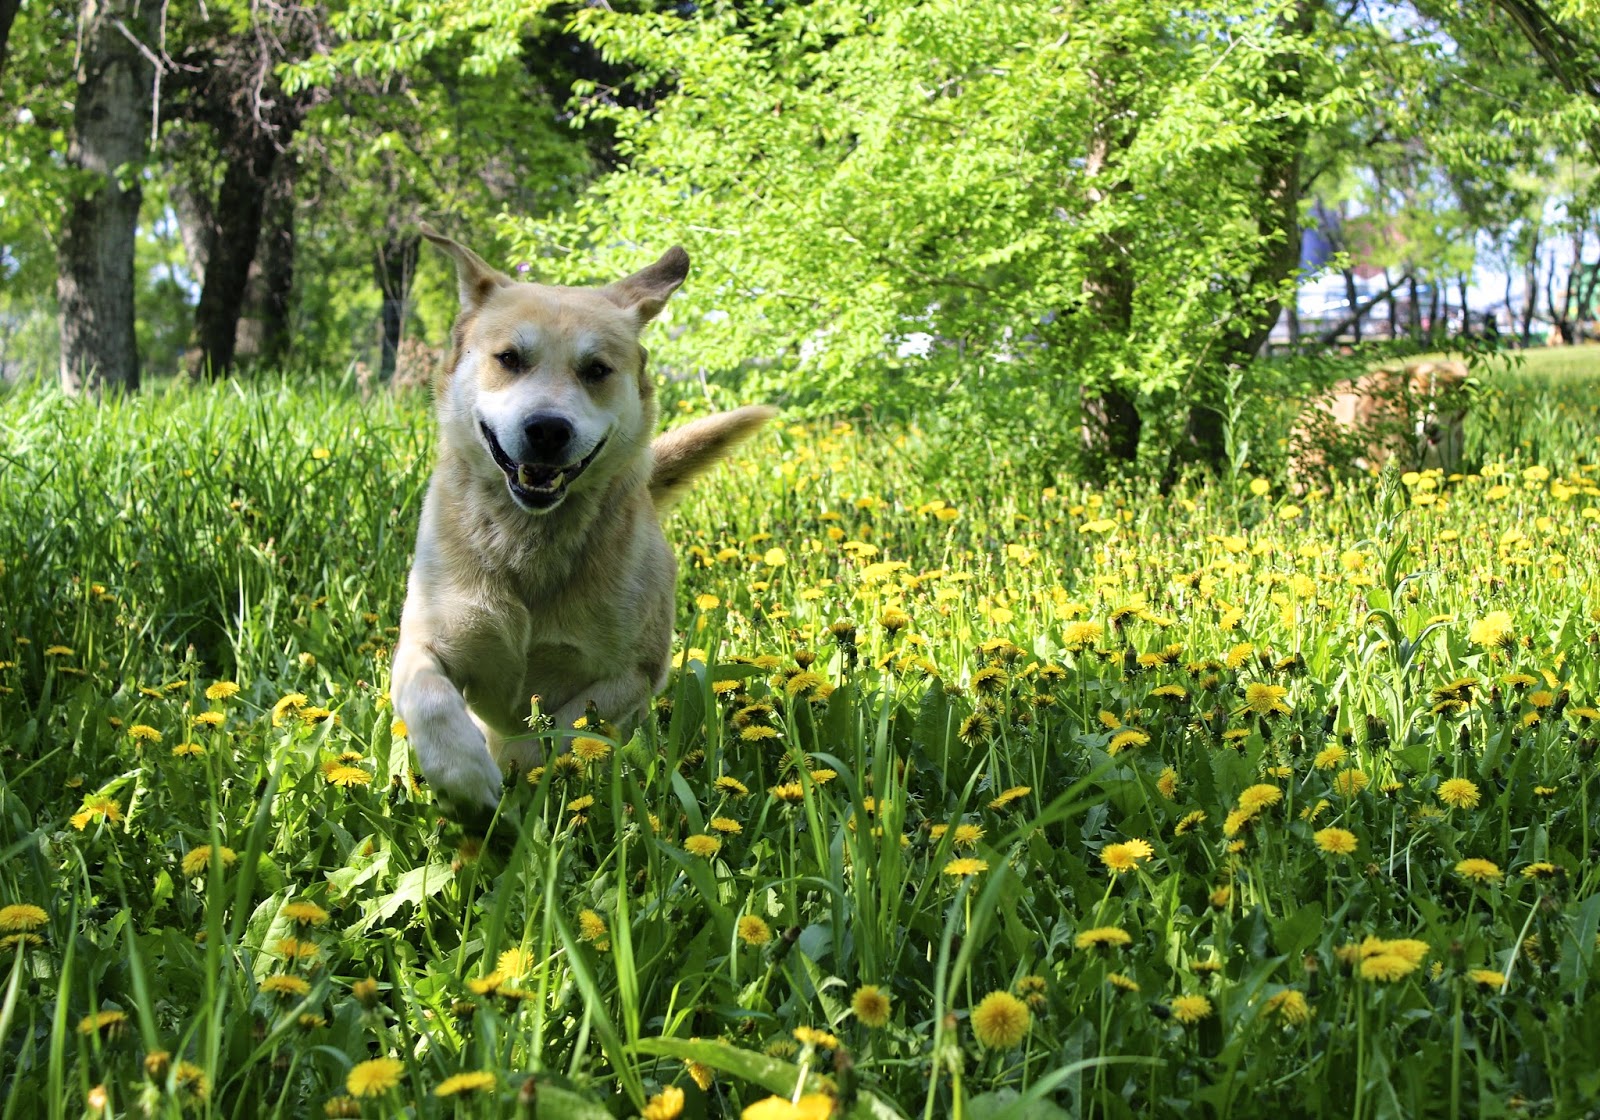 One technique used in animal photography is to get on eye to eye level with the subject of your photo. An animals eyes can easily be the focal point, and can express the overall emotion of the image. Getting down to the animals level, shooting up close, and freezing them in action, makes for a very interesting photo because you can capture so much detail, and it makes the image seem more real and alive. By doing this you can also show the animals character and personality.
Tuesday, May 13, 2014
Focal Point
A focal point of a picture can be be the most important part of any image. It's purpose is to draw the viewers attention to the part of the image you want highlighted. A focal point gives the viewers eyes a place to rest on, but still experience the emotion or the mood of the entire image. When a picture has no focal point, the viewers eyes will wander, and when they see nothing that catches their eye, they will get bored and move on. The goal you want to achieve when using a focal point is to make the viewer stop and look, and to captivate their full attention for prolonged moment.
 |
| Here I used the grain elevator and silo as my focal point |
To make a focal point stand out, it must be placed in the image correctly. This is where the rule of thirds comes in. The rule of thirds is when you imagine a grid of two vertical lines and two horizontal lines running over your image, cutting the image into a grid of thirds. The correct places to put your focal point are any places where those imaginary lines intersect. It also helps to you place your horizon line on any two of the horizontal lines. An off centred focal point is much more interesting and pleasing to the eye.
Friday, May 9, 2014
Aperture
Using different aperture sizes are just one of the many techniques used when taking a picture. Different aperture sizes refer to how much light is passing through the camera lens, which will change the result of the picture taken.

Although using small aperture sizes are quite popular, using larger aperture sizes, for example f/16, or f/22, are just as beneficial. They will make both the subject and the background in focus. This is commonly used in landscape photography where the entire image will be in focus, and can help capture very stunning pictures!
Tuesday, April 22, 2014
Foreground - Make or Break
Foreground can be such an important aspect to certain pictures. The foreground of a picture helps set the mood you want the image to portray, adds depth to the picture, and is very interesting to look at, if used correctly. When looking at a picture, the foreground should help lead your eyes up to the rest of the photo.
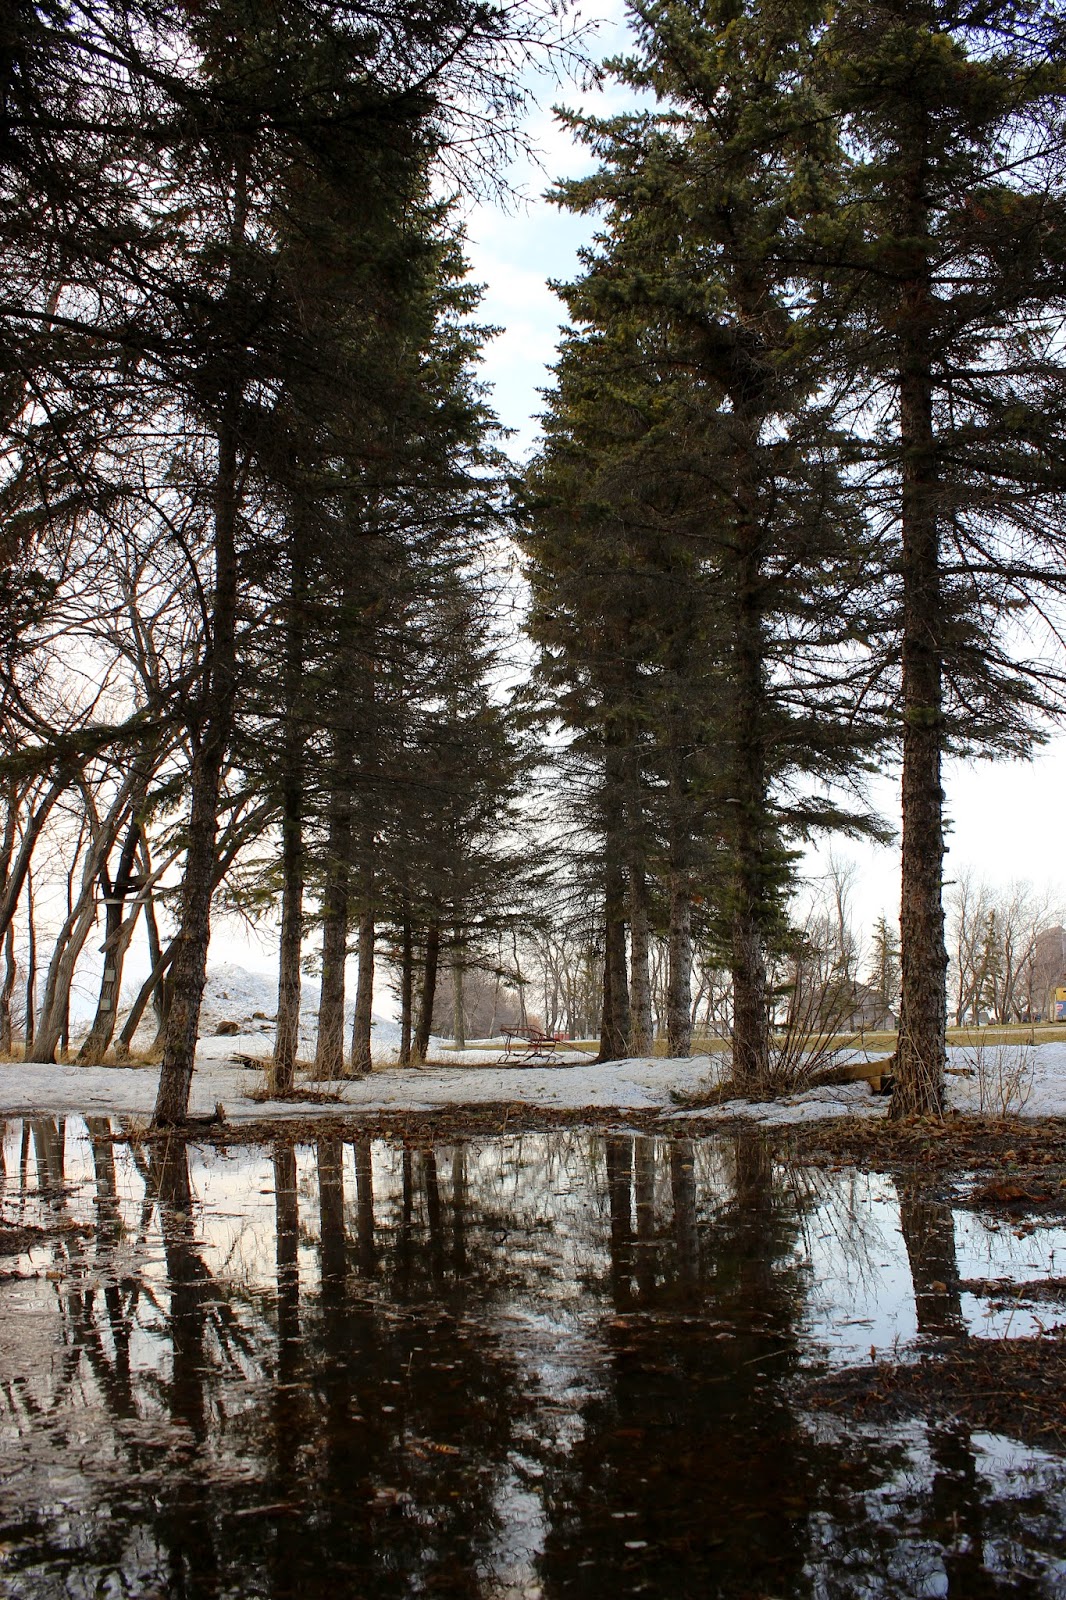 Around this time of year is the perfect time to test out using foreground to your advantage. With all the snow melting leaving large puddles behind, there is so many good opportunities to try this photography skill out. Puddles are great to use in foreground because it may capture the reflection of whatever your subject is, which can make for a very interesting photo.
Here is an example of a picture I took using this clever photography skill. You can see the reflection of the trees in the foreground, and it actually adds more depth to the image. The darkness and contrast of the photo gives off a dreary mood, and the stillness of the puddle makes the environment seem very calm and hushed.
 |
Using the foreground to your advantage is an excellent way to capture a great image. I am excited to use this skill more in other pictures I take in the future!
Click the link below to read more about using foreground in your pictures!
The Importance of Foreground
Monday, April 21, 2014
Editing
 |
| Before |
Here is an example of a picture showing the 'before editing' and 'after editing' results.
 |
| After |
Instead of having a dull and gloomy picture as a result, these simple editing steps I did make the picture a lot more rich in colour, and makes for a more interesting photo.
Subscribe to:
Posts (Atom)